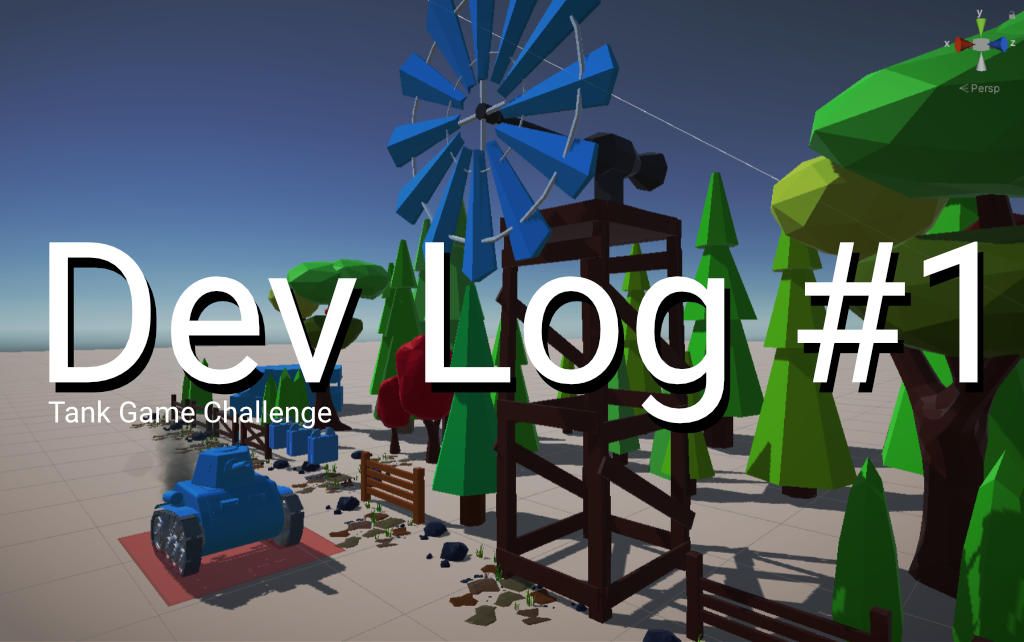
Challenge - Update 1
Before the Christmas break, I managed to get a good start on this challenge. There is a bit too much progress for one post so I’ll break it down retrospectively as best I can. In this update, I cover model creation in Blender and touch on prototyping the controls.

My art skills are better suited to 2D rather than 3D. Yet this project is about me trying something different. I want to be a little bit uncomfortable. I hope I'll discover new aspects of development that i didn't think i would enjoy or even think i could do. The first step in this process was to see if creating 3D assets was even viable. Could I create assets that could appear in a commercial game? Would someone pay for this? Will it look like crap?
Well after jumping into Blender for a bit it kinda did start to look like crap.
This was my first attempt. I mean it kinda looks like a tank I suppose? I had to keep telling myself it’s only been 10 minutes, you're retraining Blender muscle memory, chillout, relax. I wasn't too confident at this point. I mean look at that abomination above.
I took a step back here and realised I’m jumping in too quickly. Yeah it’s nice getting into Blender again but what I’m i actually creating? What style am I going for? Where are the reference images?
I asked myself a couple of questions. What’s practical for this project? What can I achieve effectively in a short space of time? I decided to go with a Low Poly style and spent some time looking at reference images on google and pinterest.
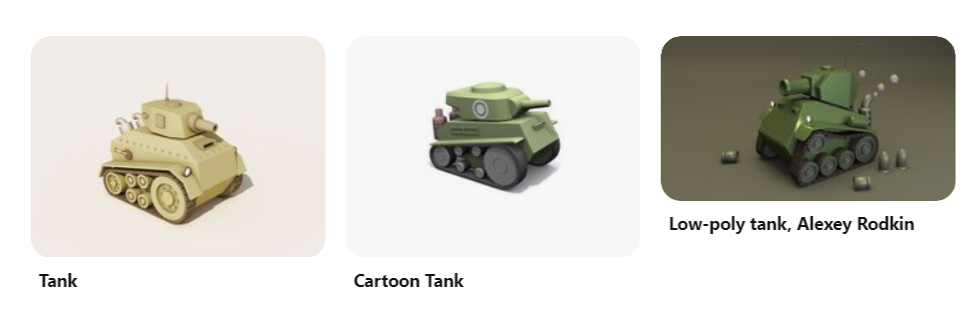
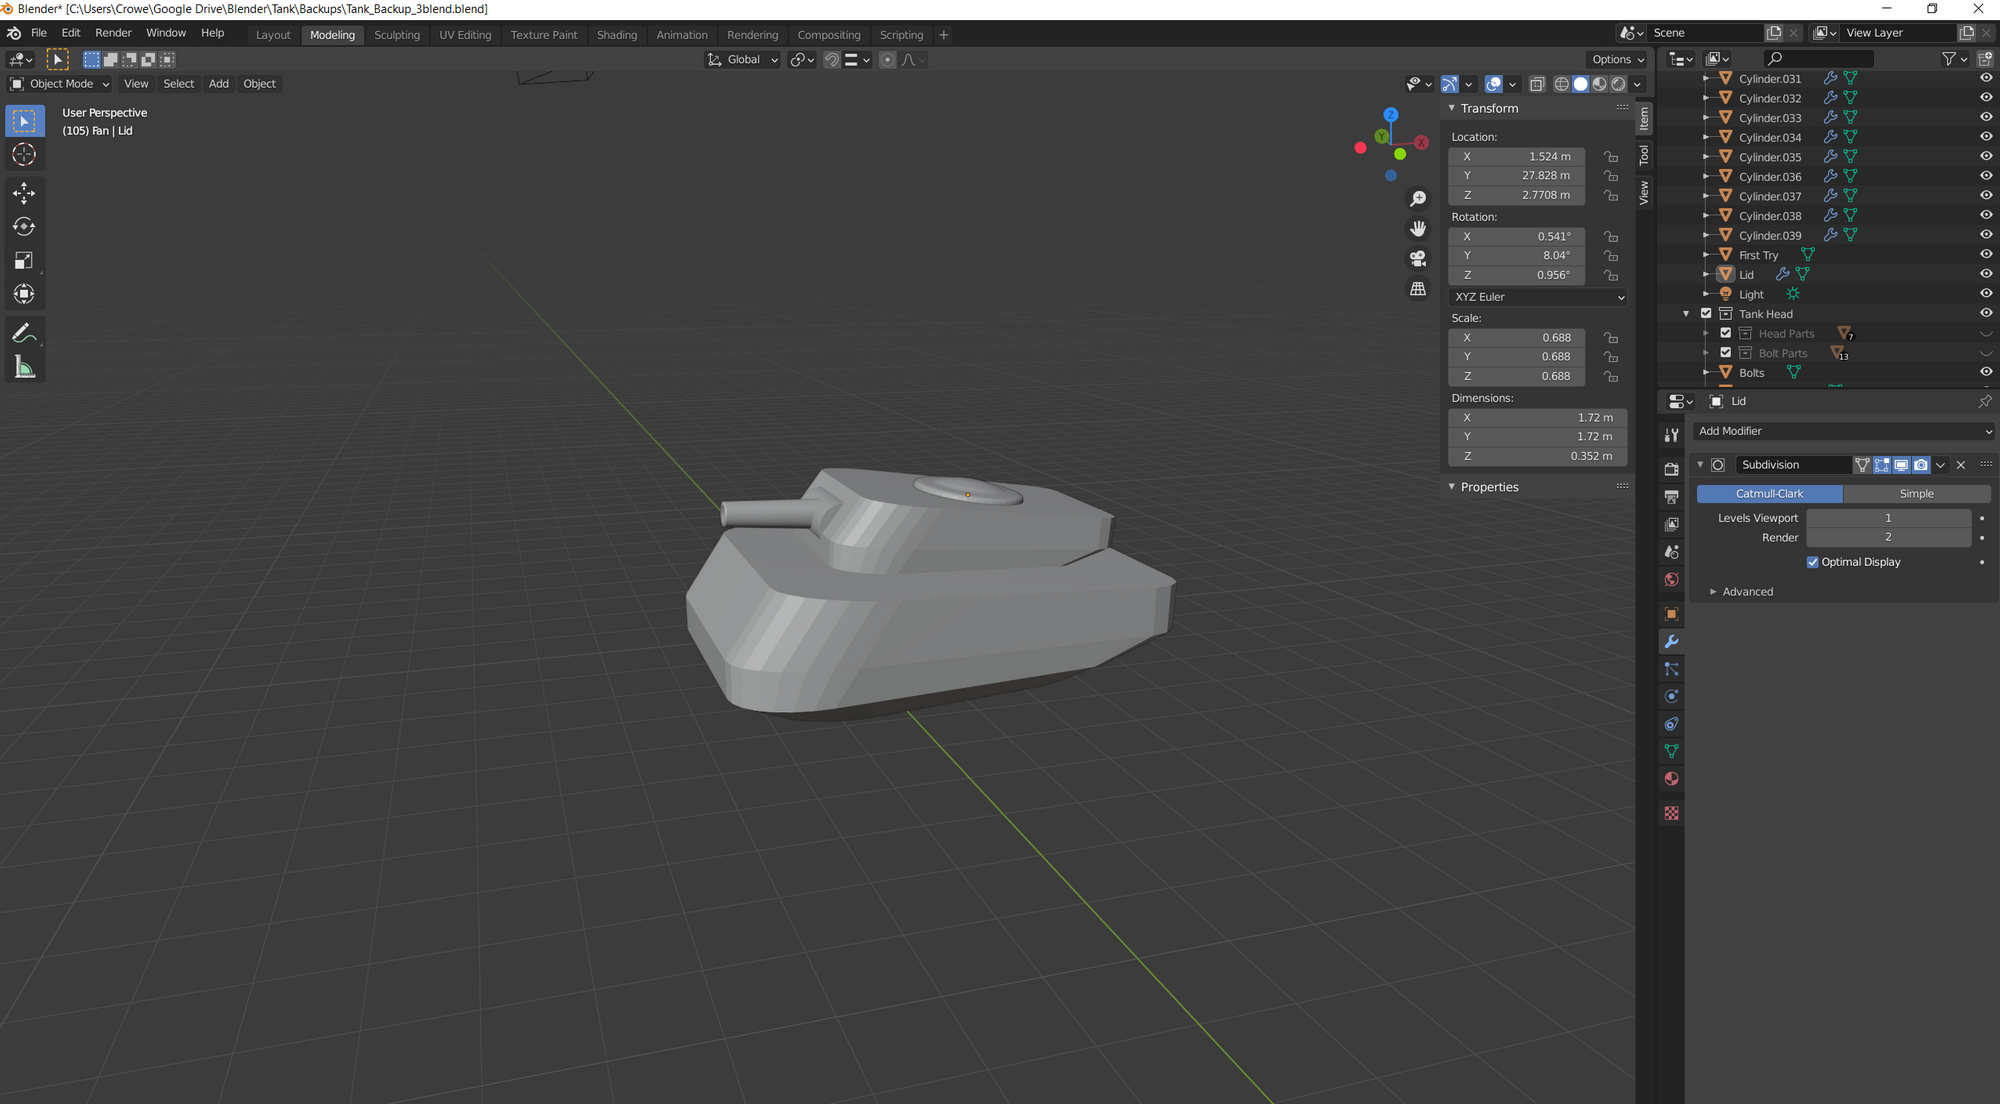
I found a few cute low poly tanks that I thought would suit the direction of the project. After a few attempts I started getting back into the swing of modelling again, below is the result.
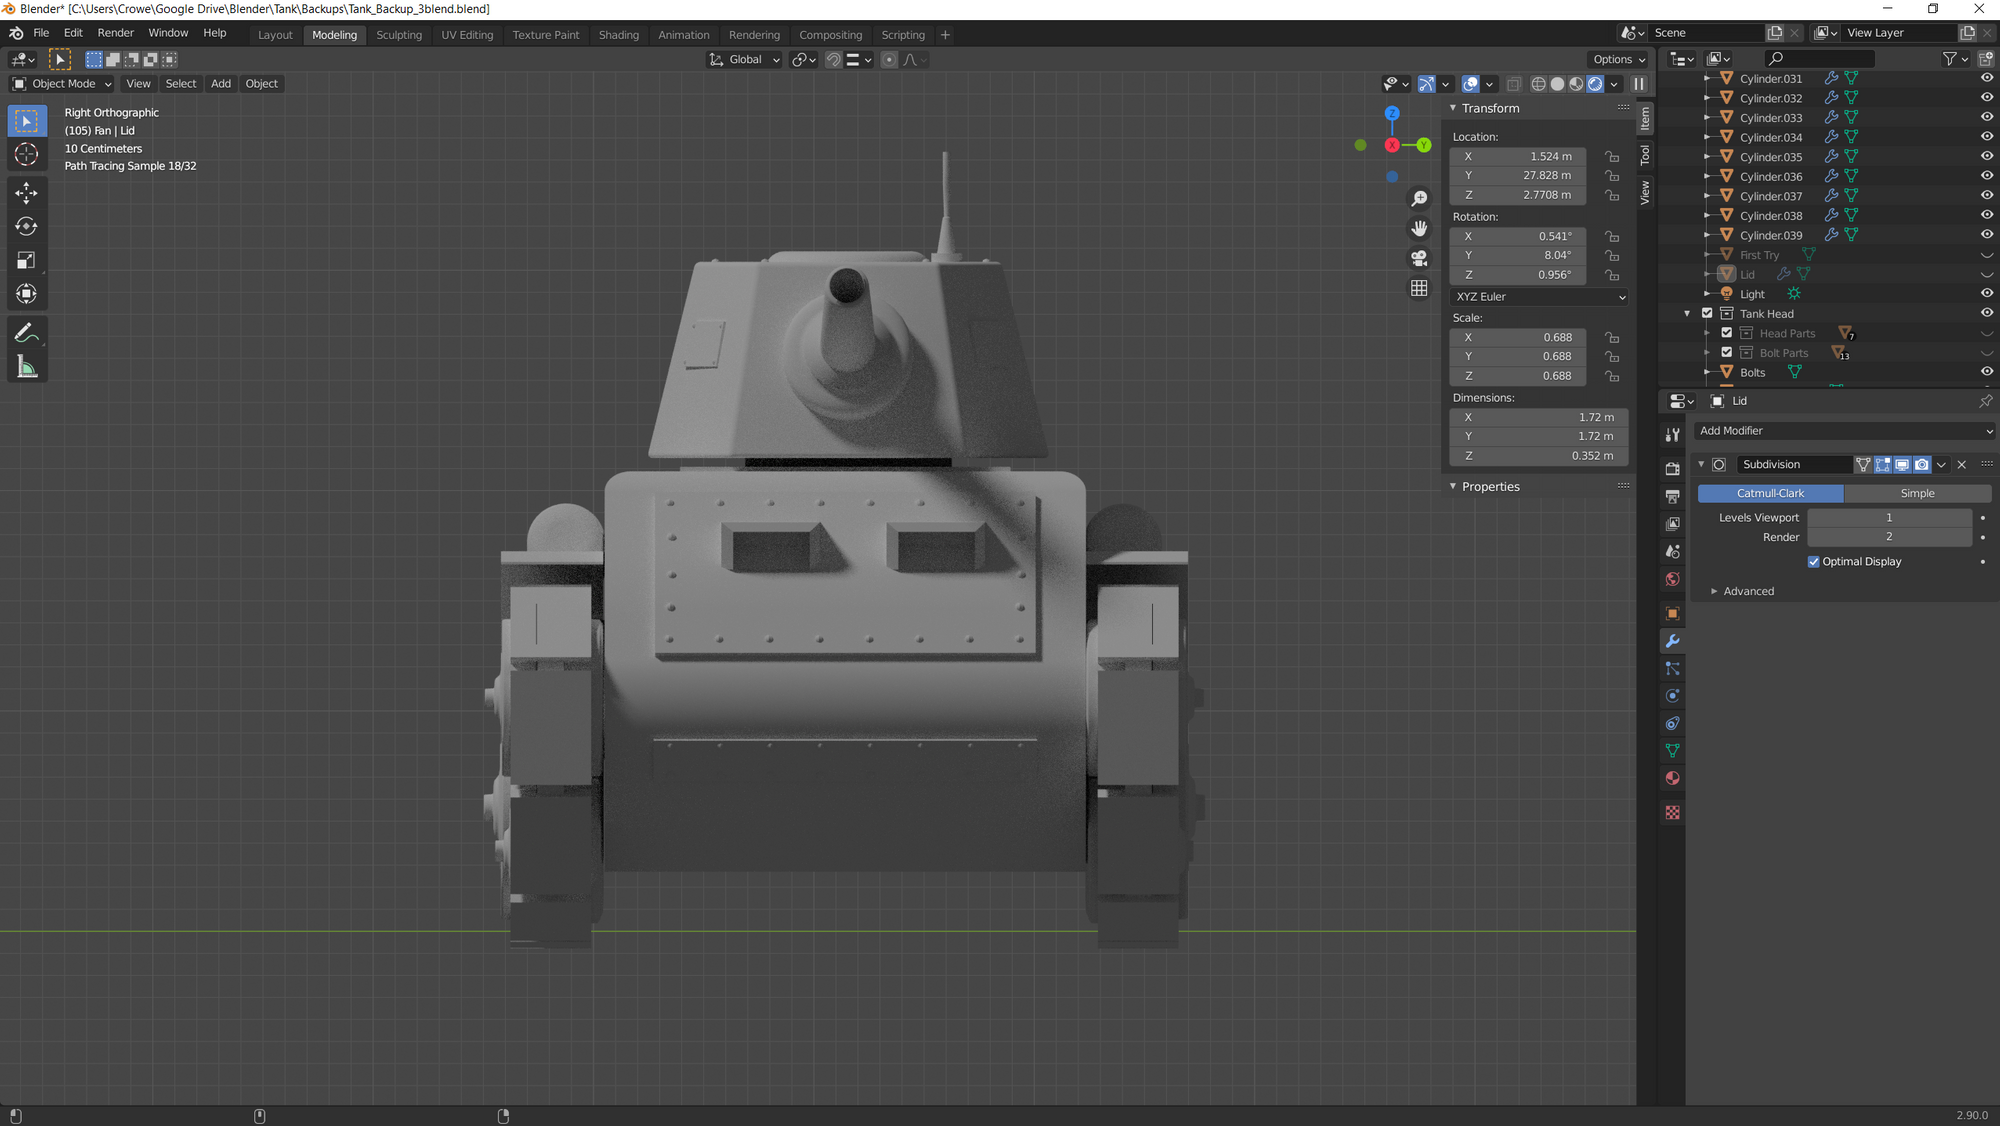
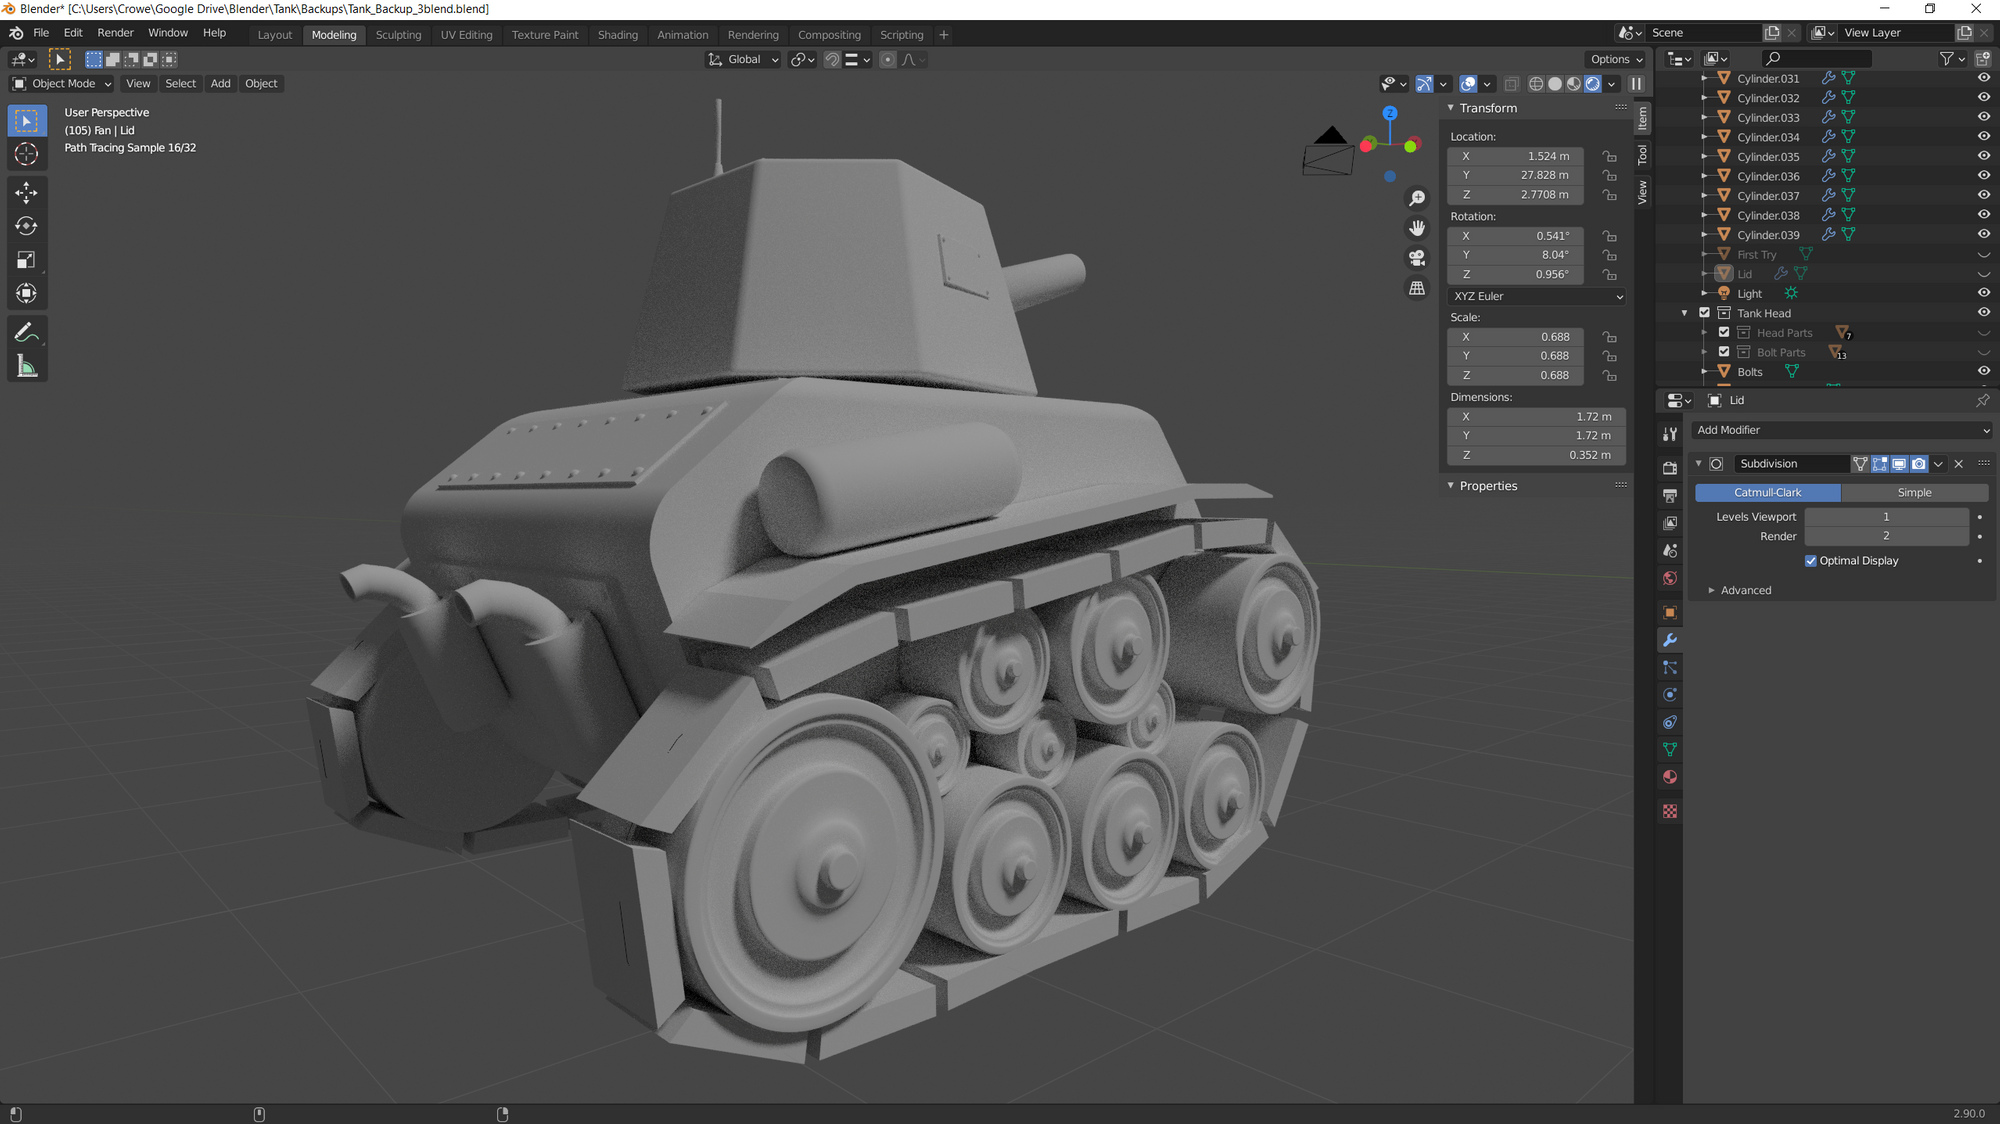
I’m happy enough building on top of this. It’s simple with some exaggerated parts such as the wheels and tiny turret, I hope it gives it some character.
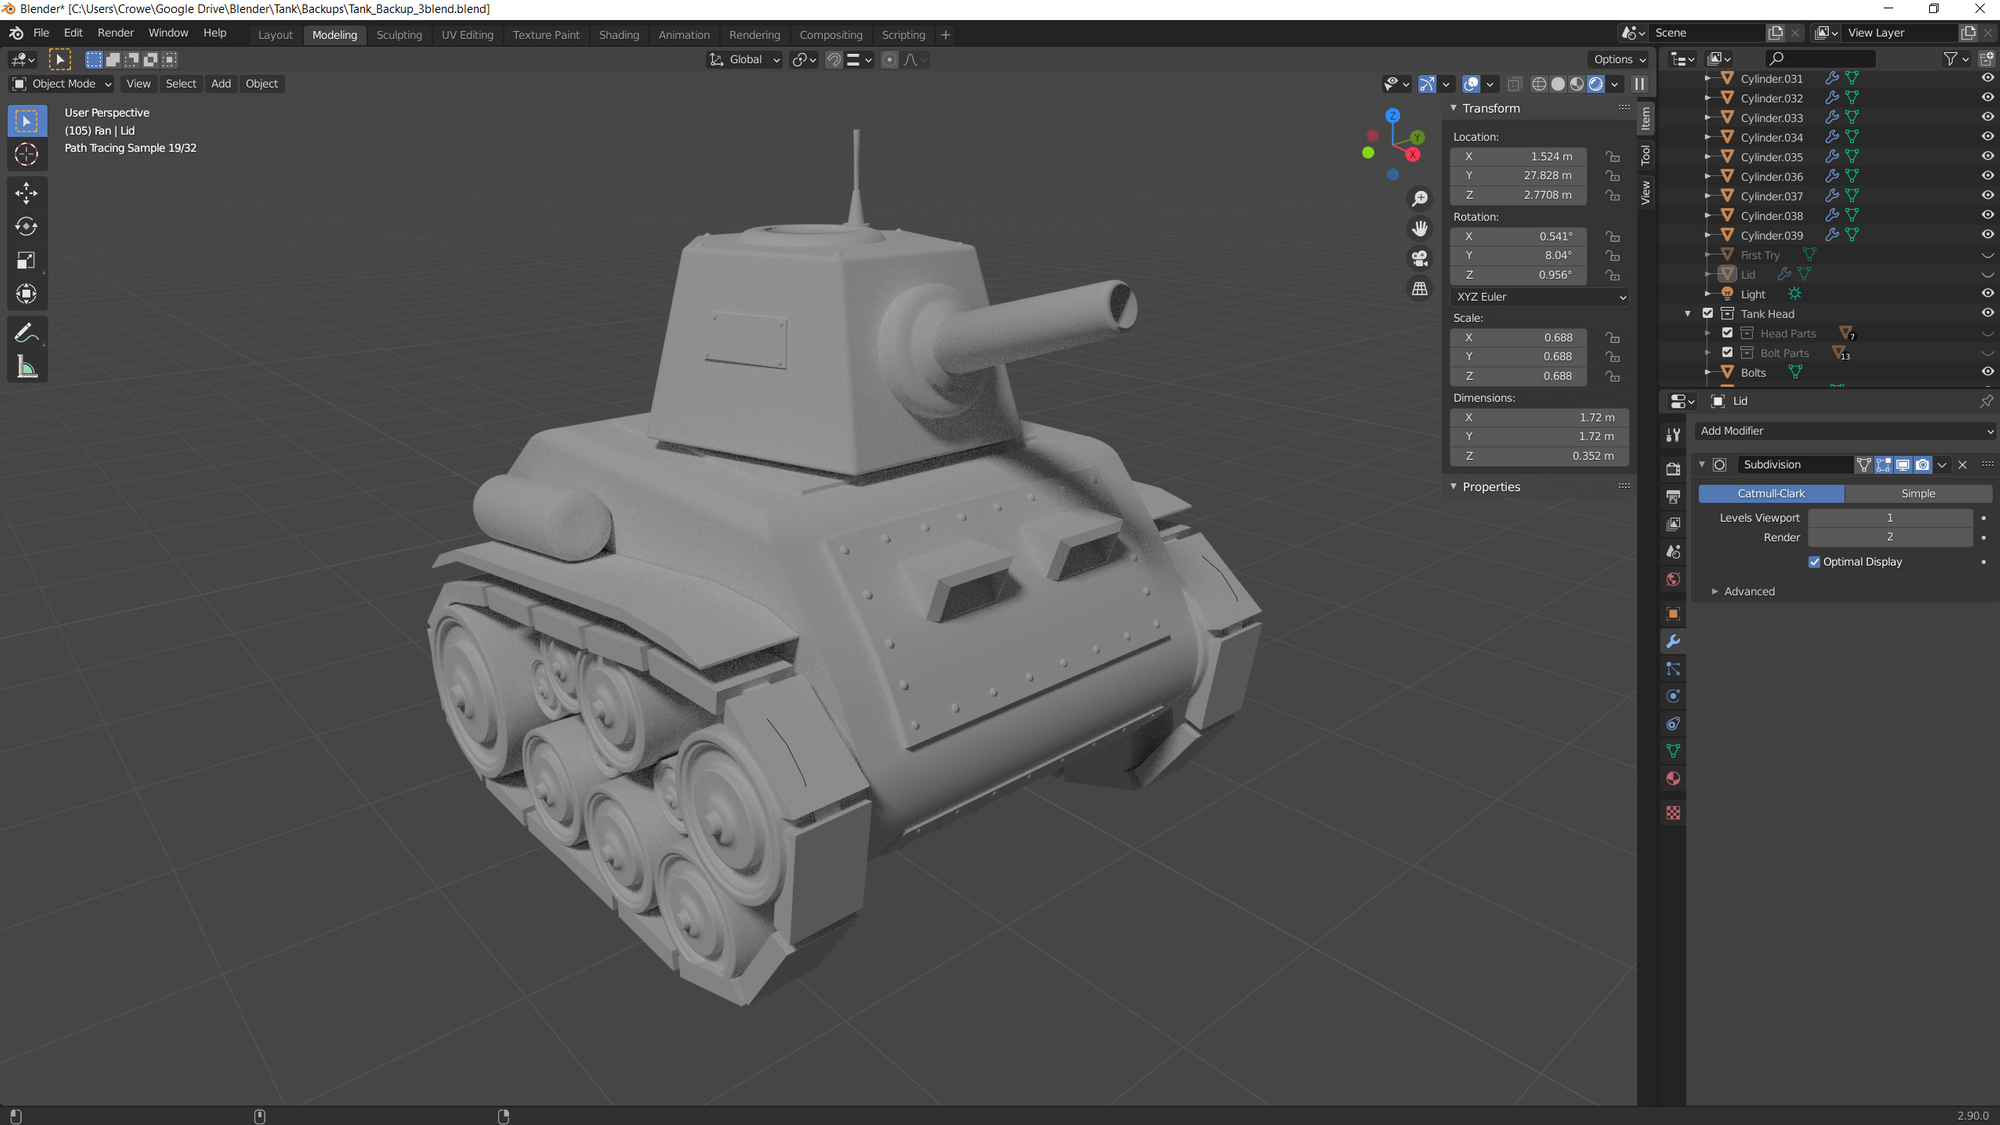
Not bad for a second attempt.
At this point I’m still getting used to Blender so even this simple Tank needed a lot of clean up. It had overlapping UV’s, flipped normals and the geometry was not in the correct orientation. These problems should be easy to solve so I decided to put it to one side and work on the Tank movement in Unity.
Using primitives and the Unity Tanks tutorial I was able to get the initial movement working. Once I was happy with this I extended it to work with the new input system. Unity’s Interactions system can help check for specific input patterns. I used it to check for a button hold i then used this to create a charged shot function. This means I won't have to use timers or delays as much in the code. Very handy.
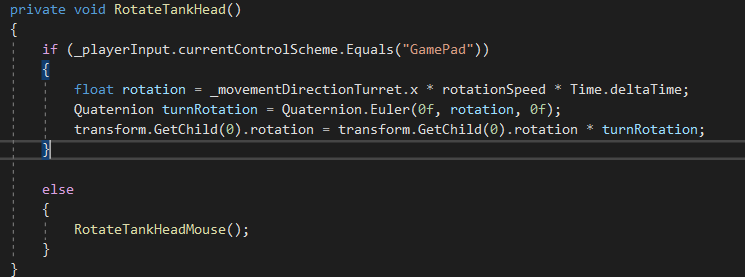
Another problem to solve was Turret direction. I have it set up to point in the direction of the mouse, but what about a gamepad?
I set up the Input for keyboard, mouse and gamepad. When Unity finds a gamepad signal it uses a differnt function for turret movement. All the other movement commands are the same. This saved a bit of time and will help when I come to the multiplayer component. There are a lot of options when it comes to the new Input System. You can gather a lot of detail about what types of controllers are in use. It's nice but I did struggle a little with documentation.
One other thing to note here is that I used the Player Input component. I normally skip this and listen for the input via the code. It was simple to set up Unity events using it. It saved a good bit of code and helped keep the classes clean.
Now to Import a cleaner version of the tank as a .fbx, add my scripts and components. I added a few basic effects using the line render and VFX graph. I’ll go into a bit more detail on these at a later date.
I think that’s enough for one update. In the next post I’ll detail how I set up the hud, level models and enemies.